
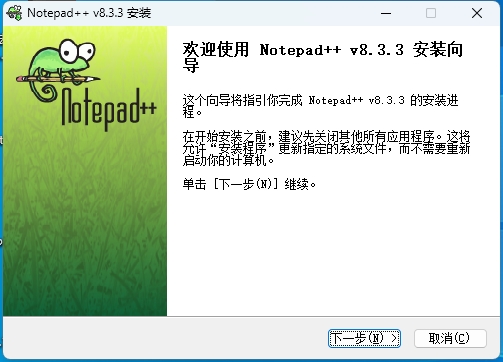
Notepad++ Code Editor Installation Steps
Notepad++ is a powerful, lightweight open-source code editor. This tutorial will guide you through the installation process of Notepad++, helping you get started quickly with this editing tool.
Step 1: Download Notepad++ Installer
First, download the Notepad++ installer from the official website:
- 1Visit the Notepad++ official website: https://notepad-plus-plus.org/
- 2Click the "Download" button.
- 3Choose version:
- Installer: Standard installer (recommended)
- Portable: Portable version, no installation required
- 4Select 32-bit or 64-bit version based on your system type.
- 5Click the download link to save the installer.
Tip: Always download from the official website to avoid versions that may contain malware from third-party sites.
Step 2: Install Notepad++
After obtaining the installer, proceed with installation:
- 1Double-click the installer file to launch the installation wizard.
- 2Select installation language, choose "English" for English interface.
- 3Read and accept the license agreement.
- 4Choose installation location.
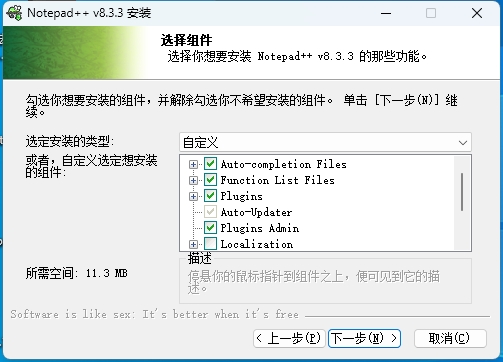
- 5Select features to install:
- Create desktop icon
- Add Notepad++ to right-click menu (recommended)
- Replace Windows Notepad (optional)
- 6Click the "Install" button to begin installation.
- 7After installation completes, click the "Finish" button.
Step 3: Basic Settings
After first launching Notepad++, you can make some basic settings:
Set Interface Language
To change the language:
- 1Click "Settings" → "Preferences".
- 2Find "Localization" in the "General" tab.
- 3Select language and restart Notepad++.
Common Settings: In "Settings → Preferences", you can adjust word wrap, tab width, auto-update and other options according to your preferences.
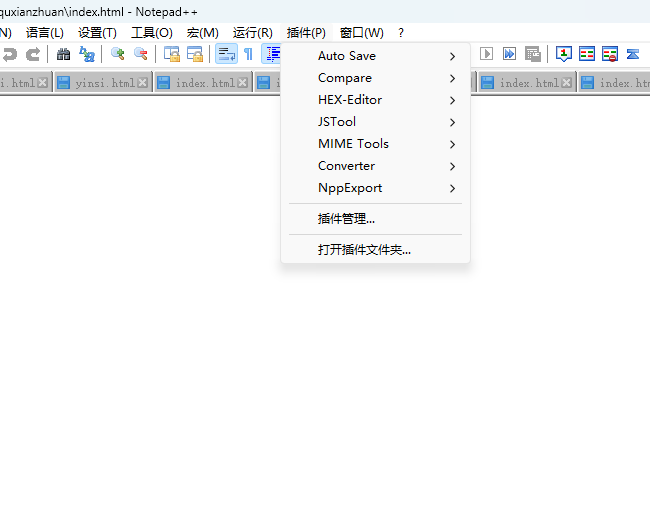
Step 4: Install Plugins (Optional)
Extend Notepad++ functionality through plugins:
- 1Click "Plugins" → "Plugin Manager".
- 2Browse available plugins list, check needed plugins.
- 3Click the "Install" button.
- 4Restart Notepad++ to activate plugins.

Common plugins include: NppFTP (file transfer), XML Tools (XML editing), JSON Viewer (JSON formatting), Compare (file comparison), etc.
Common Issues
Installation Errors
If you encounter "Cannot create directory" error, try running the installer as administrator or choose a different installation location.
Updating Notepad++
Click "Help" → "Check for Updates", follow prompts to complete update.
You have now successfully installed Notepad++ and can start using this powerful code editor!